NFC Access Control: A Practical Implementation Guide
NFC access control transforms how attendees enter and navigate your event. Instead of scanning printed tickets or checking names on a list, attendees simply tap their NFC badge or wristband at a reader for instant, secure entry. Here is how to set it up.
Step 1: Choose Your Credentials
The first decision is which NFC credential type to use:
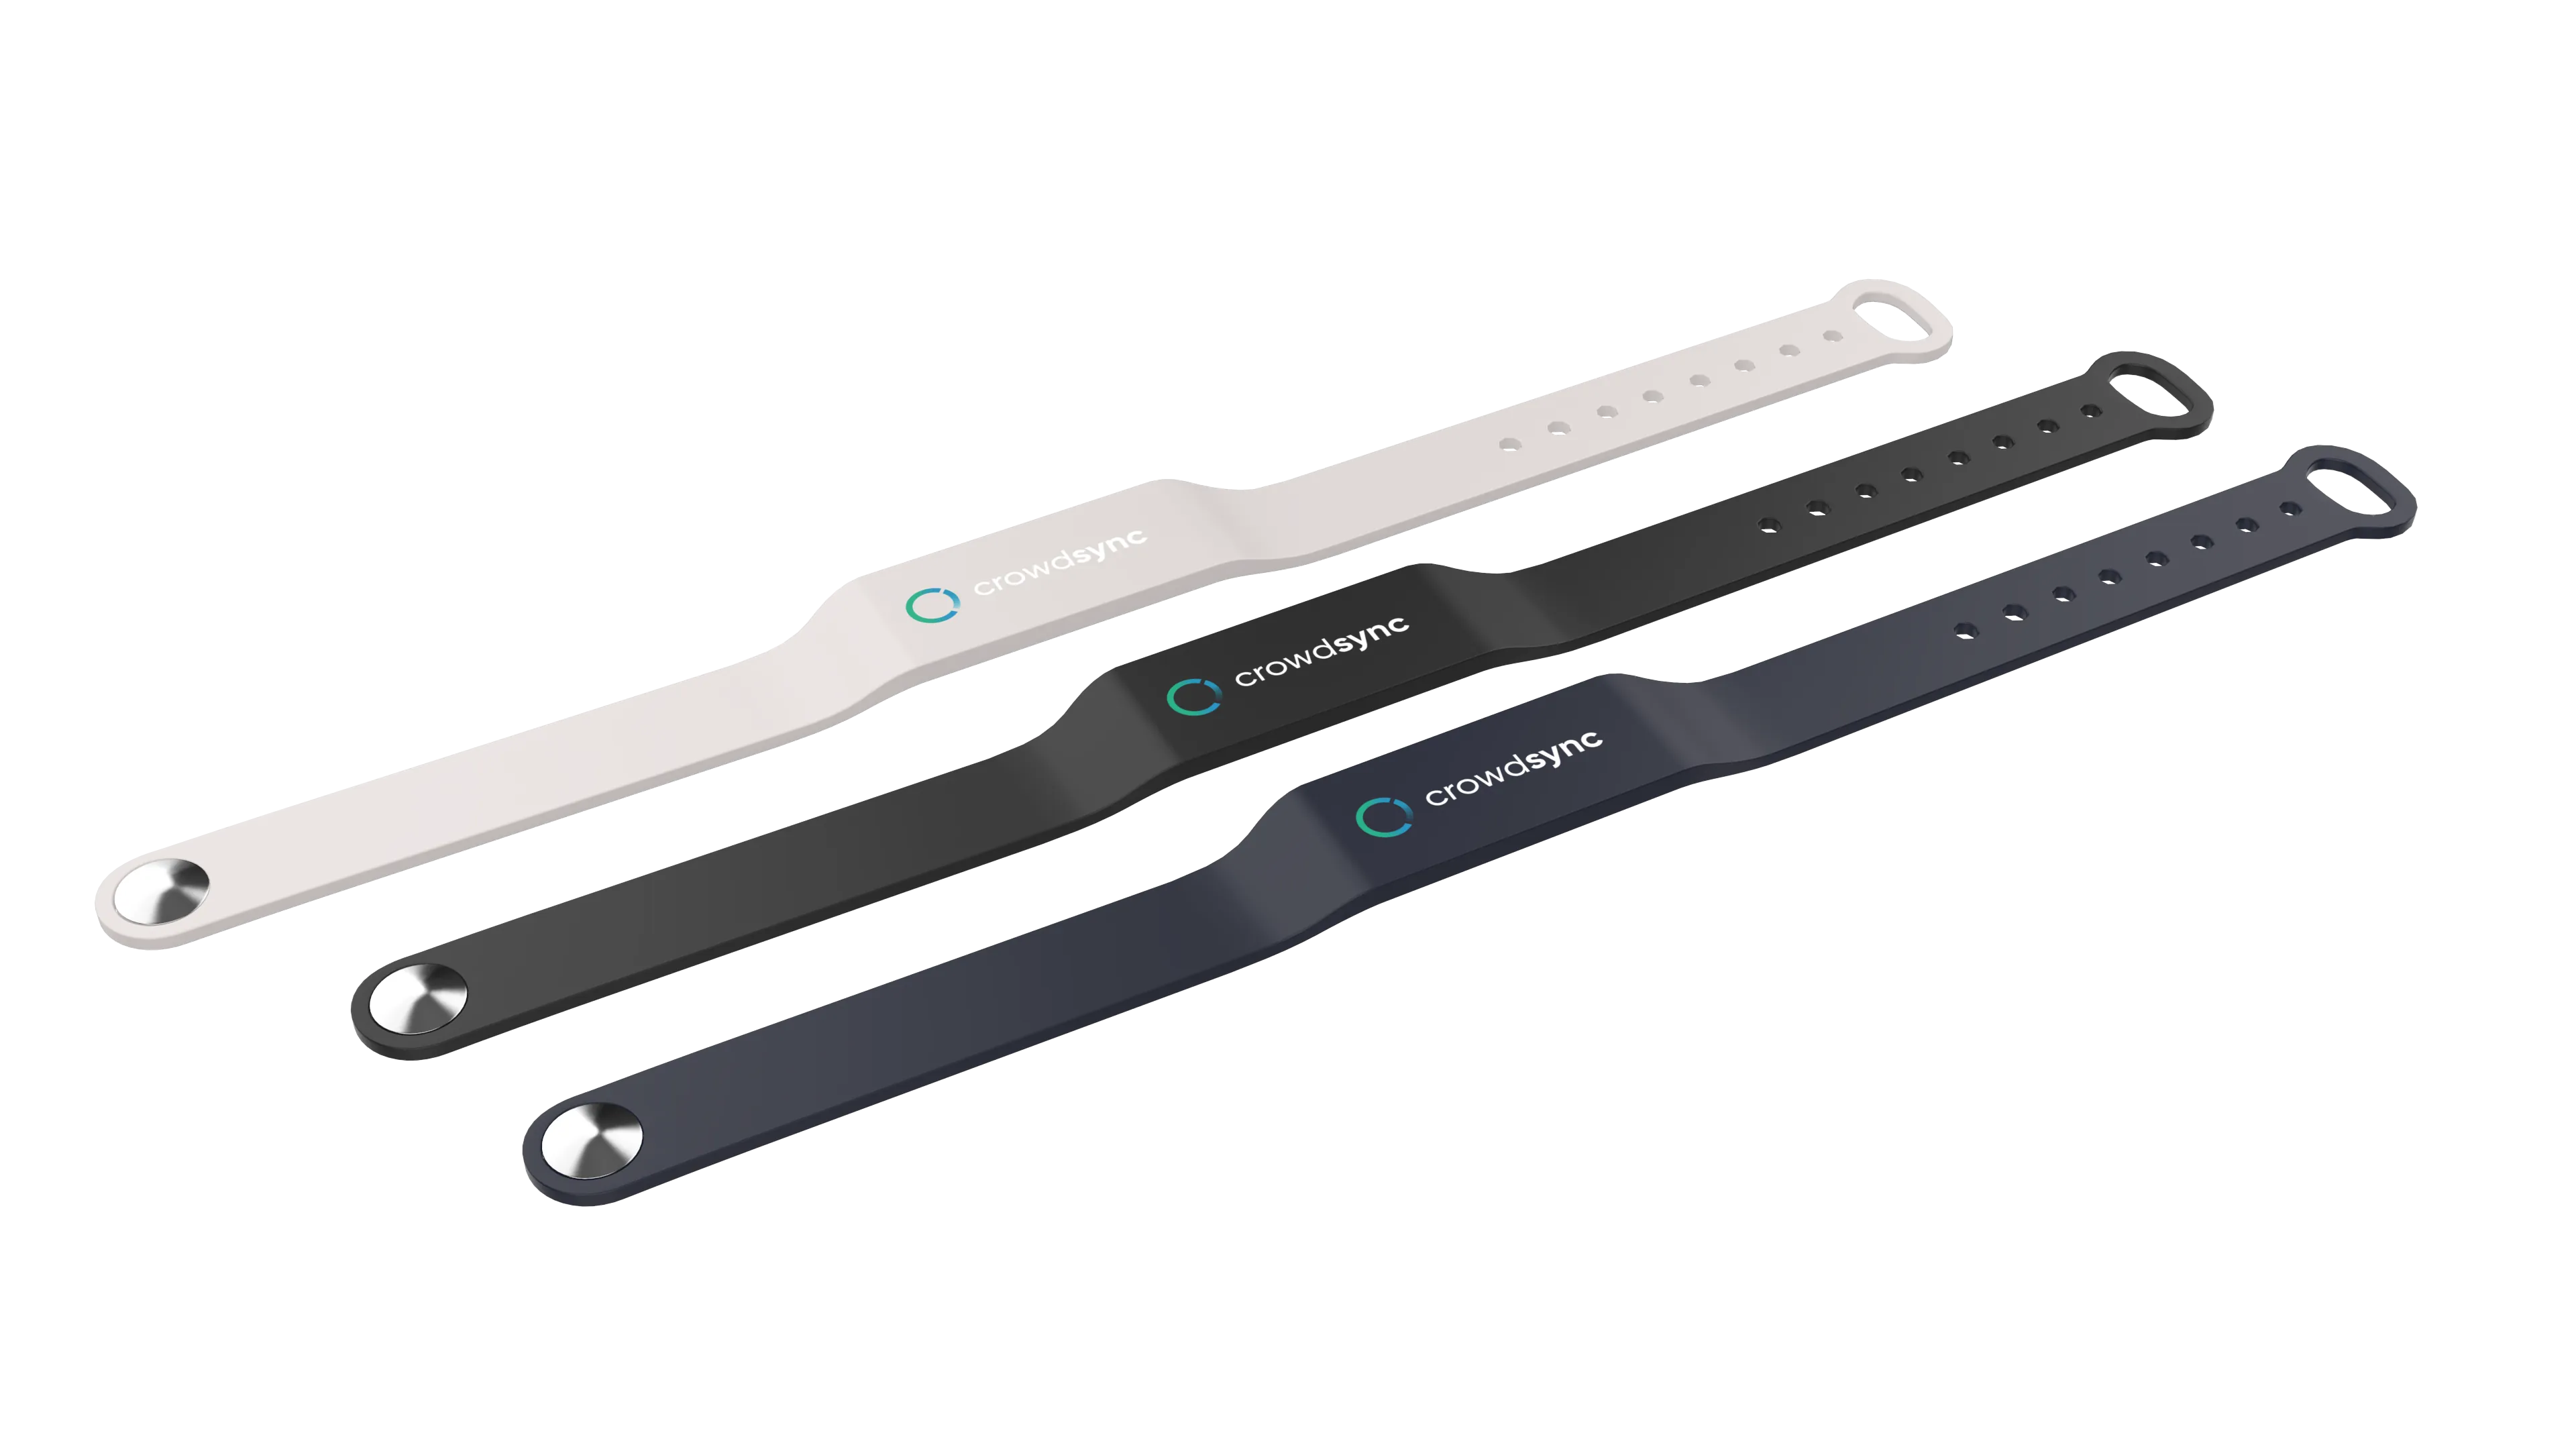
NFC Badges — Best for conferences and corporate events. Professional appearance, easy to brand, and double as name badges.NFC Wristbands — Best for festivals and multi-day events. Waterproof, durable, and harder to transfer between people.Hybrid — Use badges for exhibitors and speakers, wristbands for general admission.CrowdPass provides both options with pre-encoded NFC chips that link to your attendee database automatically.
Step 2: Plan Your Venue Zones
Map out your venue and define access zones:
Main entry — Where all attendees first scan inGeneral areas — Open to all credential holdersRestricted zones — VIP lounges, backstage, press rooms, speaker green roomsSession rooms — For tracking session attendanceFor each zone, determine:
Who should have access (which attendee groups)Maximum capacityNumber of entry and exit points neededStep 3: Set Up Your Hardware
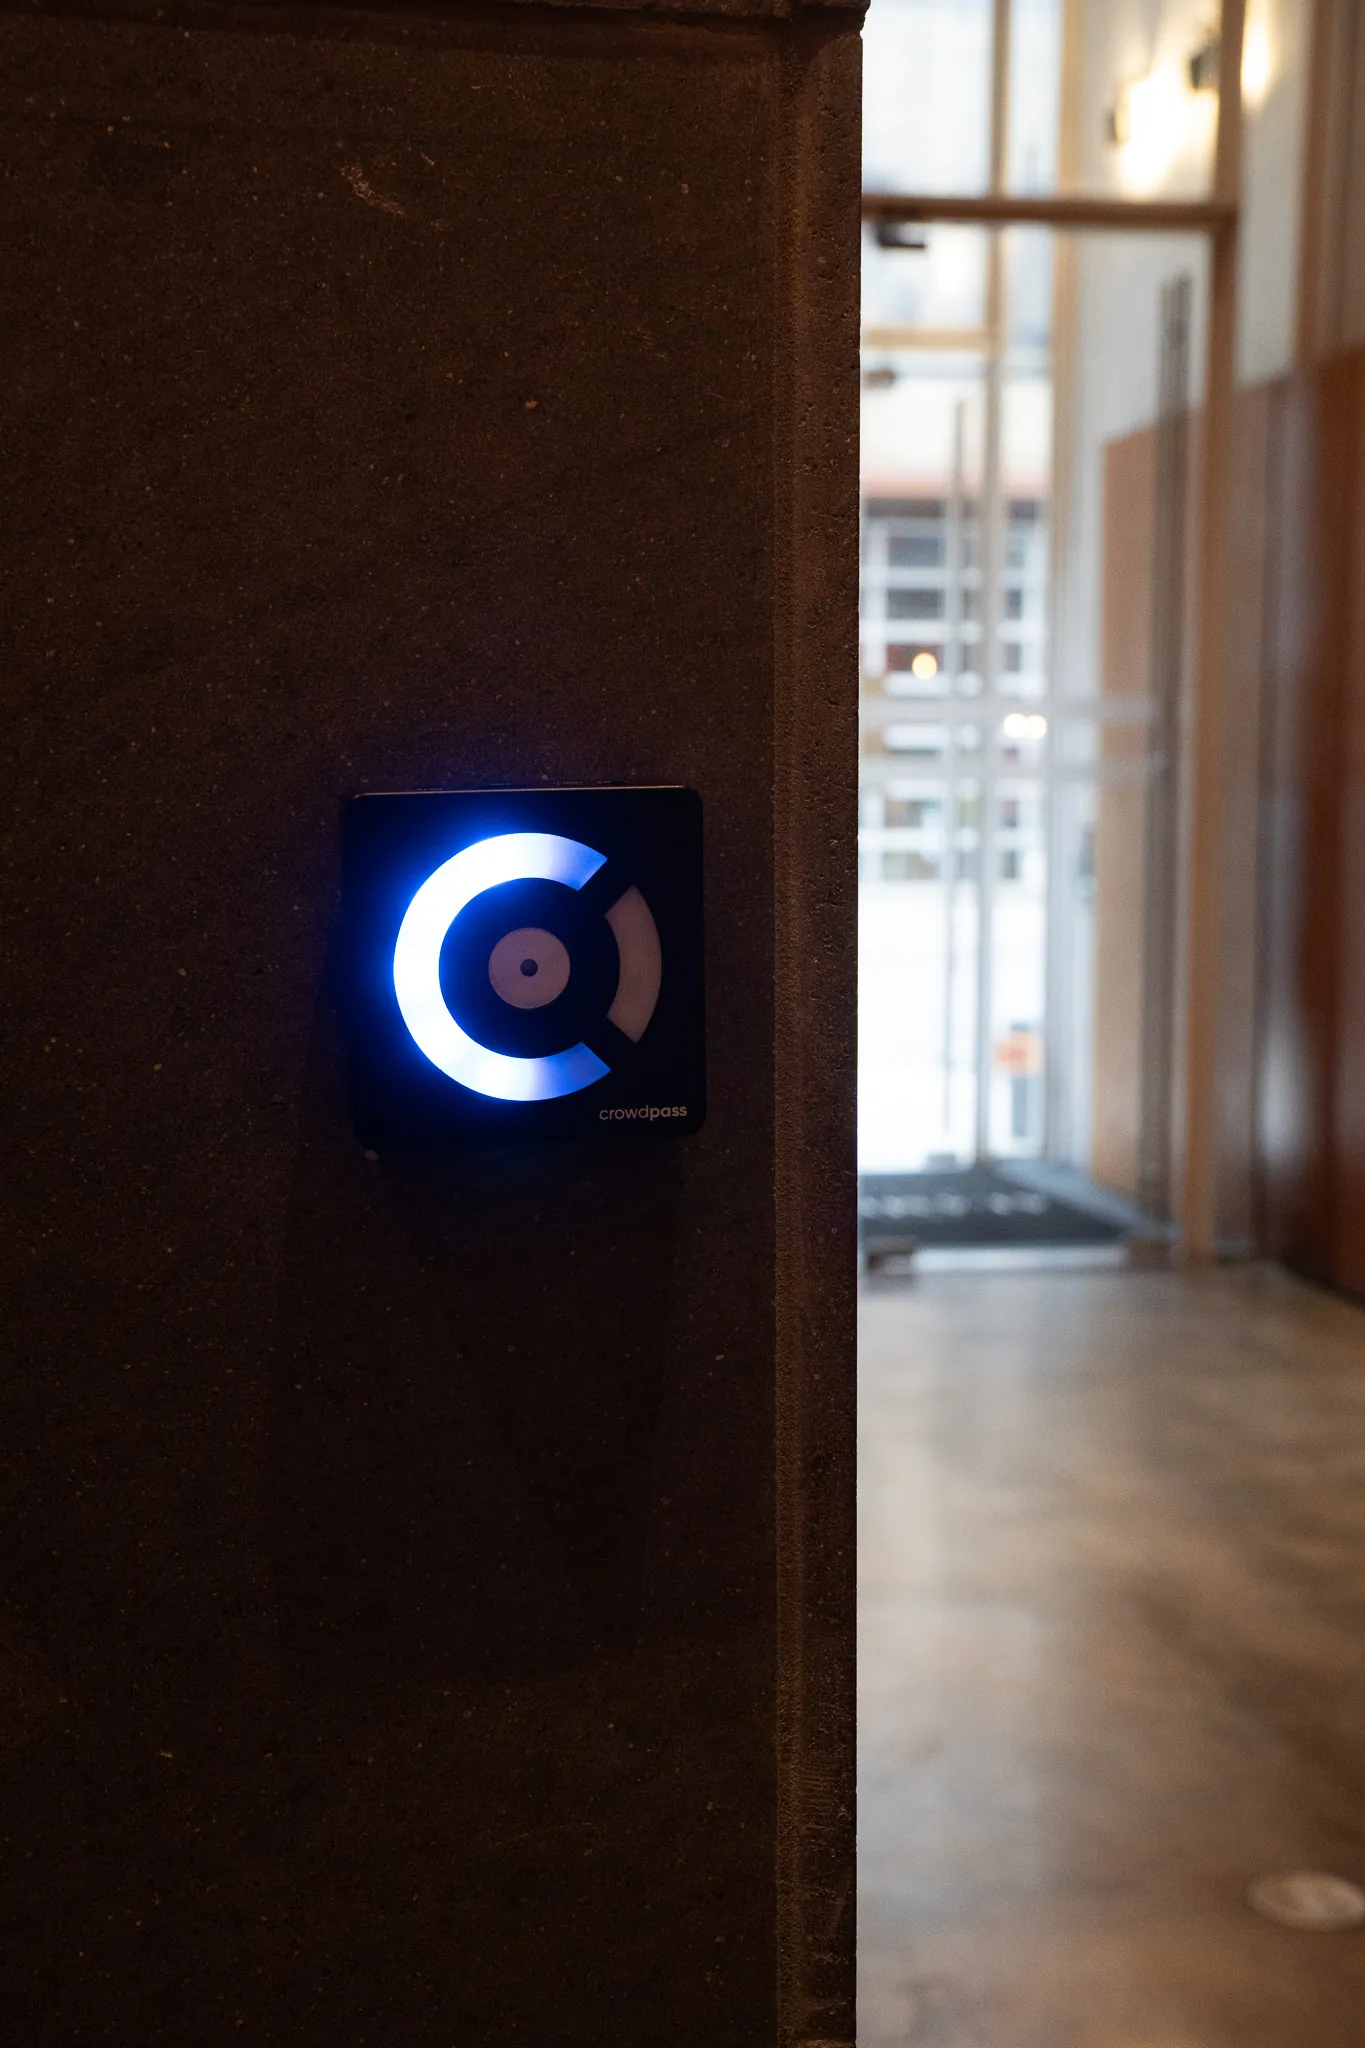
Place CrowdReader devices at each entry point. Consider:
High-traffic gates — Use multiple readers side by side to prevent bottlenecksVIP entrances — A single reader with a staff member for a premium feelSession rooms — Wall-mounted readers for self-service tap-inCrowdReader devices connect via WiFi and sync with your event dashboard in real time. They also work offline and sync when connectivity is restored.
Step 4: Configure Access Rules
In your event management platform, set up:
Group-based permissions — Assign each attendee group (General, VIP, Staff, Speaker) to the zones they can accessCapacity limits — Set per-zone and per-gate maximumsTime windows — Restrict access to certain zones during specific hoursCheck-in limits — Control how many times someone can enter a zoneStep 5: Test Before Doors Open
Run a complete walkthrough before your event:
Test every reader with sample credentialsVerify that access denials work correctly (wrong group, over capacity)Confirm the live dashboard shows real-time occupancyTest offline mode by disconnecting a reader temporarilyTrain your staff on how to handle denied entries and manual overridesStep 6: Day-of Operations
During the event, use the live dashboard to:
Monitor occupancy across all zonesWatch check-in velocity to identify bottlenecksReview the activity feed for denied entriesAdjust capacity limits or access rules on the flyCommon Mistakes to Avoid
Too few readers at main entry — Plan for peak arrival times, not average flowNo exit scanning — Without check-out tracking, occupancy counts drift over timeSkipping the test run — Always test with real credentials before attendees arriveNot training staff — Every team member at an access point should know the override processThe Payoff
Events using NFC access control report 70–80% faster entry times, near-zero counterfeit incidents, and dramatically richer data on attendee behavior. The setup takes a few hours. The impact lasts the entire event.